



Car leather renovation: 5 steps to renovate your leather car seats!
Let's be honest: the leather in your car goes through hell.
Unlike your sofa, car leather is exposed to extreme stresses. Ultraviolet rays (the greenhouse effect inside the cabin) and repeated friction every time you get in or out speed up its ageing. As a result, the protective layer flakes away, revealing cracks on the surface.
Whether your front seats are worn, your steering wheel has turned sticky or your door trims are scratched, it is not inevitable.
Spending a fortune on car detailing is optional. With Sofolk, leather renovation becomes affordable.
Whether for luxury cars or classics, we offer all the products and the method for a professional leather restoration.
Choose the action you want to carry out to renovate your leather car seat
-
 Car Leather Cleaning
-
 Car Leather Repair
-
 Car Leather Dye
-
 Car Leather Protection
-
 Car Leather Care
-
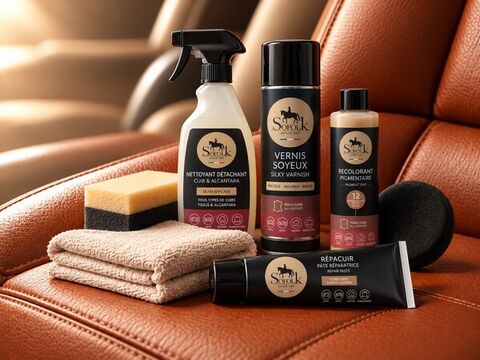 Car Leather Renovation Kits: Seats, Steering Wheel, Dashboard


How do you easily renovate your leather car seat in five steps?
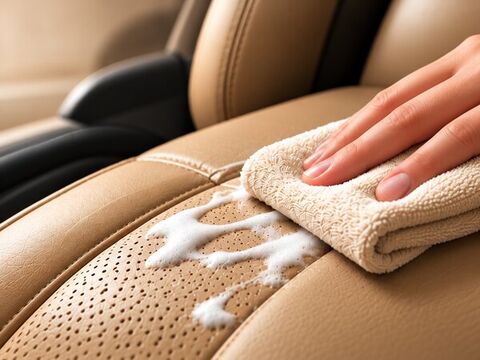
Step one: the cleaner and deep cleaning
Never try to renovate dirty leather. This rule applies to all types of leather.
Sebum and pollution can clog the pores of your leather seats. If you apply a dye or a repair paste to a greasy surface, it will not adhere.
The first step in renovating is therefore to carry out a deep clean.
To deep clean your leather upholstery, choose our stain remover specially designed for this purpose. If some areas are stubborn, you can slightly dampen the affected area before applying the soap.
A soft brush can be useful for gently scrubbing these areas.
To prepare the leather in your vehicle properly, sand its surface lightly.
Explore the car leather cleaner and cleaning range
Step two: repair the leather (cracks, splits and scuffs)
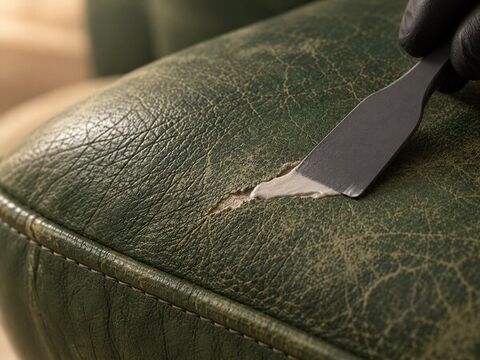
Has the leather on your car seats been damaged? Now is the time to treat it. Before focusing on the dye, you must repair the surface.
Cracks and scuffs: an application of liquid leather (our repair paste) fills the missing areas.
Deep splits and tears: if you have a tear of a few centimetres or less, or something more serious, the repair kit with backing fabric is essential to reinforce the upholstery.
The aim is to obtain a smooth finish on sound leather once the repair material has dried.
See the car leather repair solutions
Step three: dye and colour the leather
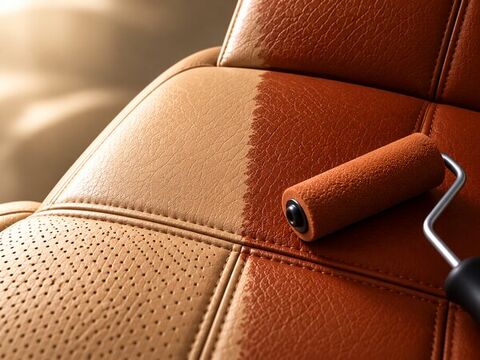
This is the key step in car leather renovation. Do you want to get back the original colour, or change the colour of the interior?
Bear in mind that car leather is mainly dyed. With our leather dye (or leather paint), you can conceal the repairs and even out the appearance.
Custom colour: we reproduce the exact manufacturer shade or any other colour of your choice. Ideally, to get a colour as close as possible to the leather in your car, we advise you to send us a sample.
Ease of use: the dye is simply applied with a foam roller or a sponge on the seats and steering wheel of your car.
Whether you want to dye black, beige or red leather, Sofolk leather dye is perfectly suited to worn leather.
Step 4: finish and protective coat
Be careful: renovation is not enough. Protect it too.
Without protection, the dye would fade at the first contact with jeans. Originally, leather has a thin layer of finishing lacquer.
We must restore this protective barrier with our silky lacquer.
You can choose a matt, gloss or satin finish. Satin is often recommended to meet manufacturers' requirements and to protect leather from UV rays and fading.
Protect your work with the special car leather finish
Step 5: nourishing and moisturising the leather
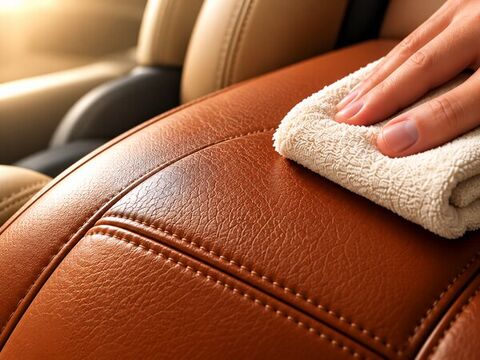
Your leather renovation is now complete. For the result to last, caring for the leather is essential.
Without care, leather becomes dry and brittle. It must be nourished with a special oil or a suitable moisturising cream, about a month after the renovation has dried completely, then two to three times a year.
This softens the fibres and prevents your leather from becoming brittle again. Use a soft, lint-free cloth to apply the product.
Care for your car leather with our products
The "turnkey" solution: renovation kits
Just starting out? Choose simplicity with a leather renovation kit.
We have gathered all the products and accessories you need into complete kits.
- Steering wheel kit: designed for the area most affected by sebum.
- Seat kit: to repair a car seat or seats made entirely of leather.
The leather renovation kit is the safest way to get all the useful information and the right products (cleaners, repairers, dyes, lacquers) for your car.
See the car leather renovation kits
Why should you choose Sofolk for your leather?
Expertise: a French company specialising in leather since 1989.
Quality: top-quality tannery products to renovate leather seats durably.
Free diagnosis to assess whether your leather can be saved.




