


Leather steering wheel renovation tutorial
Hello everyone, I purchased the Sofolk leather steering wheel renovation kit for my BMW and I wanted to share my feedback with you.
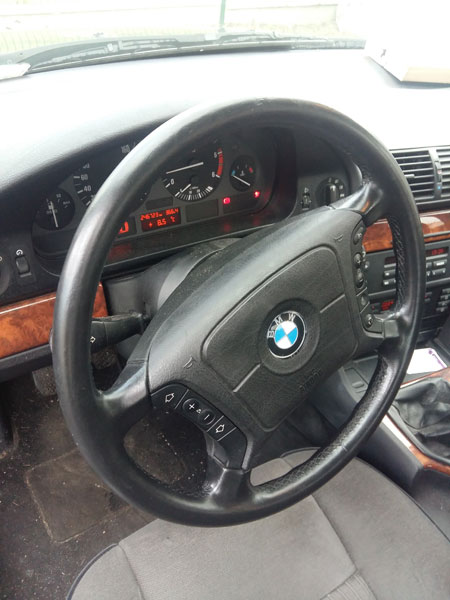
First of all a big thank you to the Sofolk team who helped me to make a repair that I thought was impossible. The result is beyond my expectations, I'm amazed.
I started my renovation on Saturday morning and finished it on Sunday in the early afternoon. The longest was mainly the drying times because in reality, I don't think I spent more than 2 hours on my steering wheel.
To carry out this repair, I had to buy in addition to the Sofolk leather steering wheel repair kit
- The leather healing sofolk
- A small piece of leather as thin as the one on my steering wheel (provided free of charge by Sofolk)
- Strong glue
- acetone
- 2 sponges (one for painting, the other for varnishing)
- a small brush (also for applying paint in difficult areas and not to overflow)
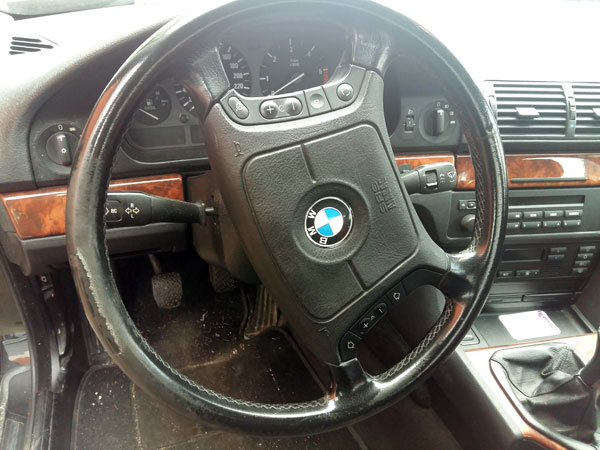
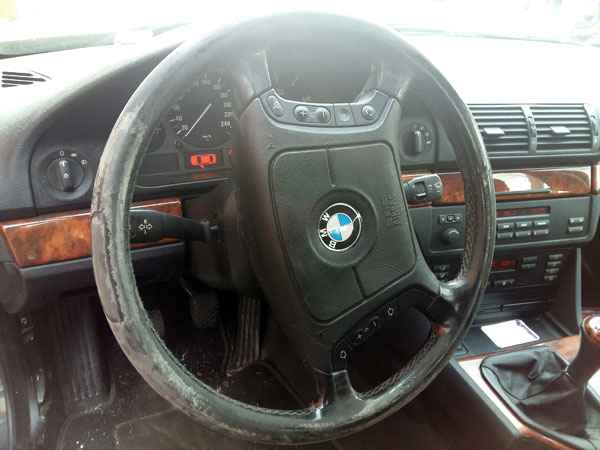
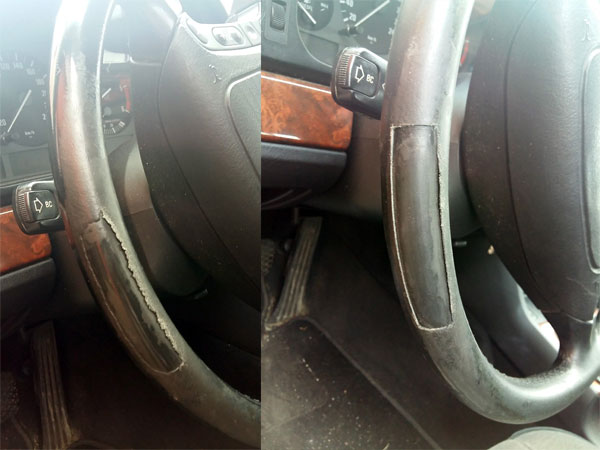
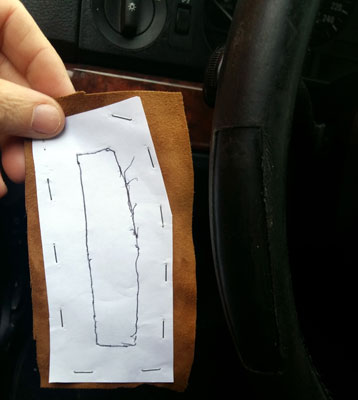
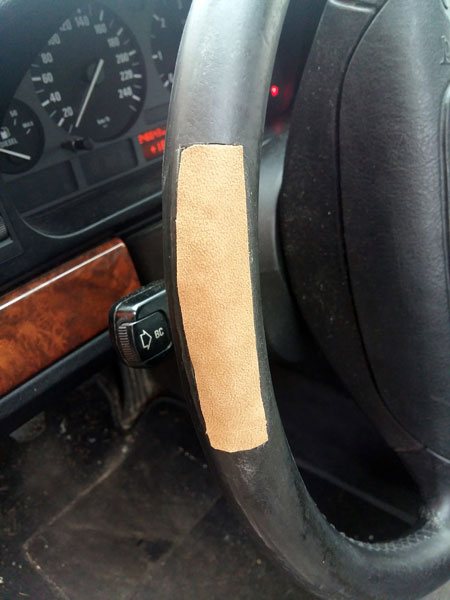
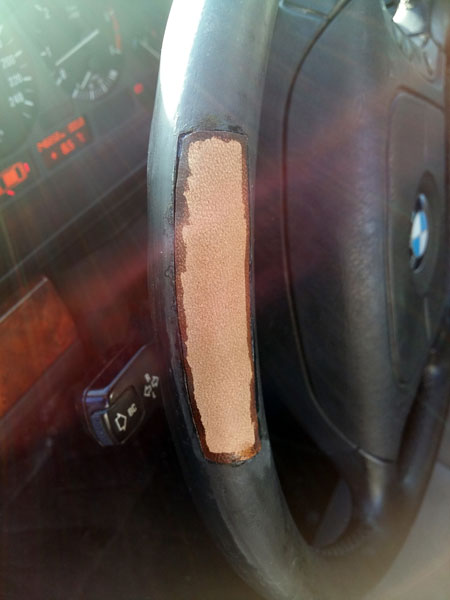
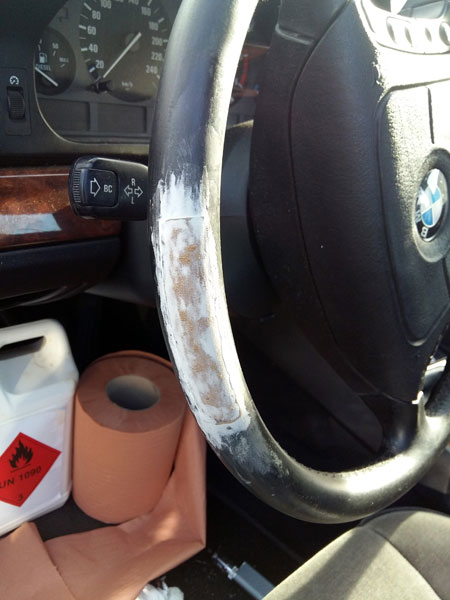
This is the condition of my leather steering wheel. It was so worn that the leather had completely disappeared from the top.Sanding of leather with 240 grain sandpaper supplied in the kit. I don't hide from you that I was heartbroken to do this because it's impressive. The shiny side of unused leather has completely disappeared.Stripping and degreasing with acetone. Insist on this step because I had to do it again after applying my first coat of paint. Indeed, even when dry, the leather was slightly sticky to the touch. The technician Sofolk had warned me and said that if this happened, it was because of insufficient stripping. I must say, my steering wheel was really dirty.Rather than having to redo a complex shape with my piece of leather that must fit perfectly, I preferred to cut the edges of my hole cleanly.Not having any tracing paper, I used a simple sheet of paper that I placed firmly on the hole. Then with a pen, I tried as best I could to "feel" the edges with the mine.I then stapled my paper to the piece of leather so that it would not move when cutting with scissors.Of course, I had to make small adjustments with scissors in order to have a perfectly adapted piece of leather. Now it is glued and positioned.I applied the leather healing clay here to weld the edges of my leather piece with that of the steering wheel. I might have been able to avoid this step, but I preferred to do it in order to have a piece of leather that will not move over time.Application of the repair paste. I used a small soft cardboard box for that.
My piece of leather being slightly more porous than that of my steering wheel (ultra smooth), I spread the paste all over it to make it waterproof and therefore give it a smooth touch so that the appearance is identical once the paint is applied.Sanding the dough (always with 240 grit sandpaper). I advise you to take your time, and put it back several times until you get a totally smooth touch, without the slightest roughness.
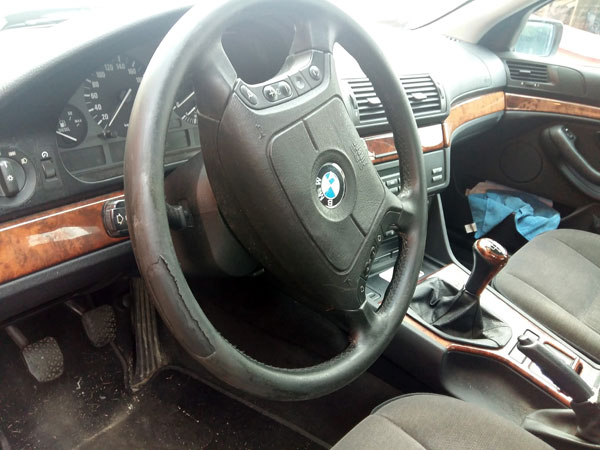
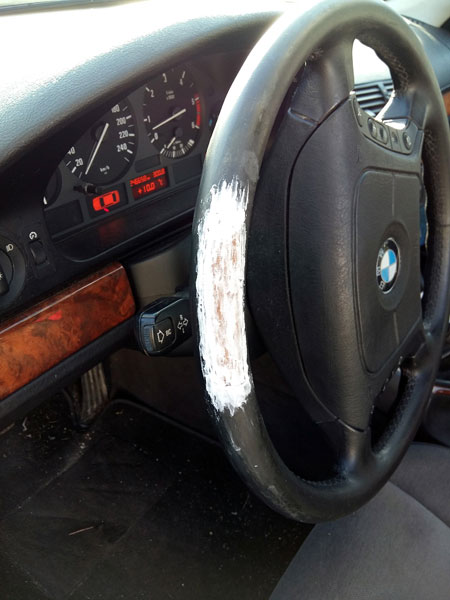
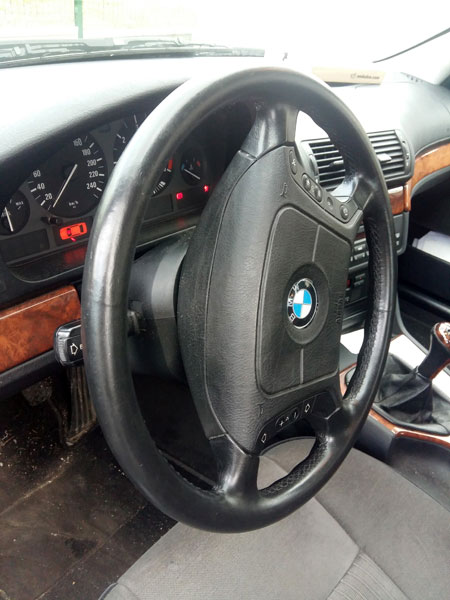
To be honest with you, I had to put some paste back on after my first coat of paint, because I had done a bad job in one or two small places.Application of sponge and brush paint (especially for the edges near the central plastic of the steering wheel). The paint dries very quickly (I started the engine and heating).
First I put a coat of paint on the paste only. Then I applied 3 additional coats on the whole steering wheel.
answer
Hello,
Thanks for the tuto... how do we do for the other color kit? I have a 205 gti steering wheel to renovate (it is grey and not black).
so how do you get the right color?
Thank you for your answer.
reply
answer
Hello,
You must choose a matching colour from one of the site's colour charts and we will send you a numbered colour chart by post to confirm the colour.
Sincerely
The SOFOLK team
reply
answer
Wow, I'm admiring.
Is it possible to obtain a paper colour chart somewhere?
On the screen, depending on the screen, the colors diverge.
Thank you.
reply
answer
I used the Sofolk leather steering wheel renovation kit on my BMW and honestly didn’t expect such a great result. Thanks to the Sofolk team’s support, what felt impossible turned out amazing. I started Saturday morning and finished Sunday early afternoon, with most of the time spent waiting for drying—actual work was under two hours. Along with the kit, I used Sofolk leather filler, a thin leather patch (kindly provided by Sofolk), strong glue, acetone, two sponges (paint and varnish), and a small brush for detail work. The final result exceeded my expectations.
reply
| OTHER SIMILAR TOPICS | |
|---|---|
| Leather steering wheel renovation tutorial
Par Philippe, le 30/12/2017 |
|
| Leather car seat renovation tutorial
Par SOFOLK, le 04/02/2019 |
|
| Delivery areas
Par Drahid, le 28/05/2026 |
|
| Cuir spider 2001
Par Cédric, le 28/02/2026 |
|
| Leather beige volvo s90
Par Ionut Dumitrache, le 12/01/2026 |
|
| Mercedes leather code 205a
Par RAL, le 15/12/2025 |
|
| Paint request
Par Guy, le 03/12/2025 |
|
| Airbrushing? which product
Par Gallybagger, le 15/06/2025 |
|
| Bmw new england beige (lbab code)
Par Jar, le 10/05/2025 |
|
| Bmw
Par RENO, le 21/04/2025 |
100% french manufacturing since 1989!
Payment by CB, PayPal, Bank transfer
2 to 5 working days

+33 5 57 34 69 72
From Monday to Friday
from 10.00AM to 12.30PM and 13.30PM to 18.00PM

answer
reply