 FR
 EN
 ES
 IT

Renovating leather shoes: where to start
A worn pair of leather shoes does not necessarily end up in the bin. Dull leather, faded colour, cracks, scuffs: every flaw has a solution, often simpler than you might think. You just need to go about it in the right order.
This page brings together the four steps of renovating a leather shoe and points you, for each one, to the right method and products.
Carried out in this order, they give the smooth leather of a tired pair a second life and let it recover its original patina.
Choose the action that meets your need for renovating your leather shoes

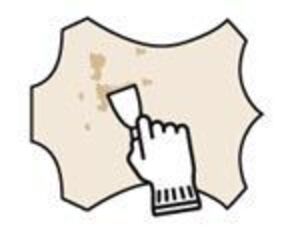
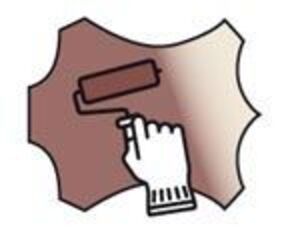


The four renovation steps, in order
A renovation always follows the same sequence: you clean, repair, dye, then nourish. Swapping two steps risks locking a stain in beneath the colour or nourishing leather that is still dirty. Here are the four steps, each linked to its own dedicated page.
Leather covered in dust, winter salt or grease stains hides its real condition and rejects any care you then try to apply.
The first thing to do is therefore to clean the leather of your shoes, so as to start again from a sound surface and discover, once the grime has gone, what really deserves treating.
Once the leather is clean, the real flaws show up: a scratch, a crack, an open tear, a peeling toe cap.
Depending on how serious it is, it is better to repair the damaged leather of your shoes before going any further, because colour applied over a cut only highlights it instead of hiding it.
Next comes colour. A black that has turned grey, a brown dulled at the creases, the paler mark left by a repair: all of this can be erased.
The right product depends on your goal, so first learn how to dye or revive the colour of your shoes, from a simple nourishing shoe polish to an opaque pigment that covers the old colour.
All that remains is to make the work last. Healthy leather dries out and shrinks as soon as it lacks care; this is how cracks end up coming back.
You then need to nourish and moisturise the leather of your shoes, a regular treatment that keeps the material supple, preserves the colour and delays the next renovation.
Why choose Sofolk to renovate your leather shoes?
Giving a pair new life rather than replacing it is what Sofolk puts within everyone's reach.
A French manufacturer based in the Bordeaux region, the company formulates and produces its own leather care products itself, from the cleaner to the finishing wax, without requiring any technical knowledge.
Above all, we support every step: step-by-step tutorials, advice sheets, and a mutual-help forum where you can post photos of your shoes to get an opinion.
Unsure about a leather, a colour, a quantity to allow for? The team also answers by telephone.
Everything you need to carry out a complete renovation yourself, from the first clean to the last protective coat.
Frequently asked questions about renovating leather shoes
Where should you start when renovating a pair of leather shoes?
Always start with cleaning. Leather that has been cleaned of grime reveals its real condition and lets the following treatments take hold.
Then repair any scuffs and cracks if necessary, recolour if the colour has faded, and finish by nourishing the leather.
This order, from the most superficial to the most lasting, avoids fixing dirt in place or wasting a treatment on a poorly prepared surface.
Can you renovate cracked or faded leather shoes?
Yes, in most cases. Cracks can be filled with a suitable paste, then recoloured to hide the mark.
Faded leather regains its colour with shoe polish, tinted wax or opaque paint, depending on the extent of the wear.
And dry leather regains its suppleness once nourished.
How can you renovate your leather shoes yourself?
Follow the four steps in order: clean, repair, dye, then nourish and protect the leather.
Each step has its own products and method, detailed on the dedicated pages.
Home renovation covers the leather itself, its colour and its suppleness; replacing a heel or a sole remains a job for the cobbler.


